

Homemade Peanut Butter (1 Ingredient, Blender)
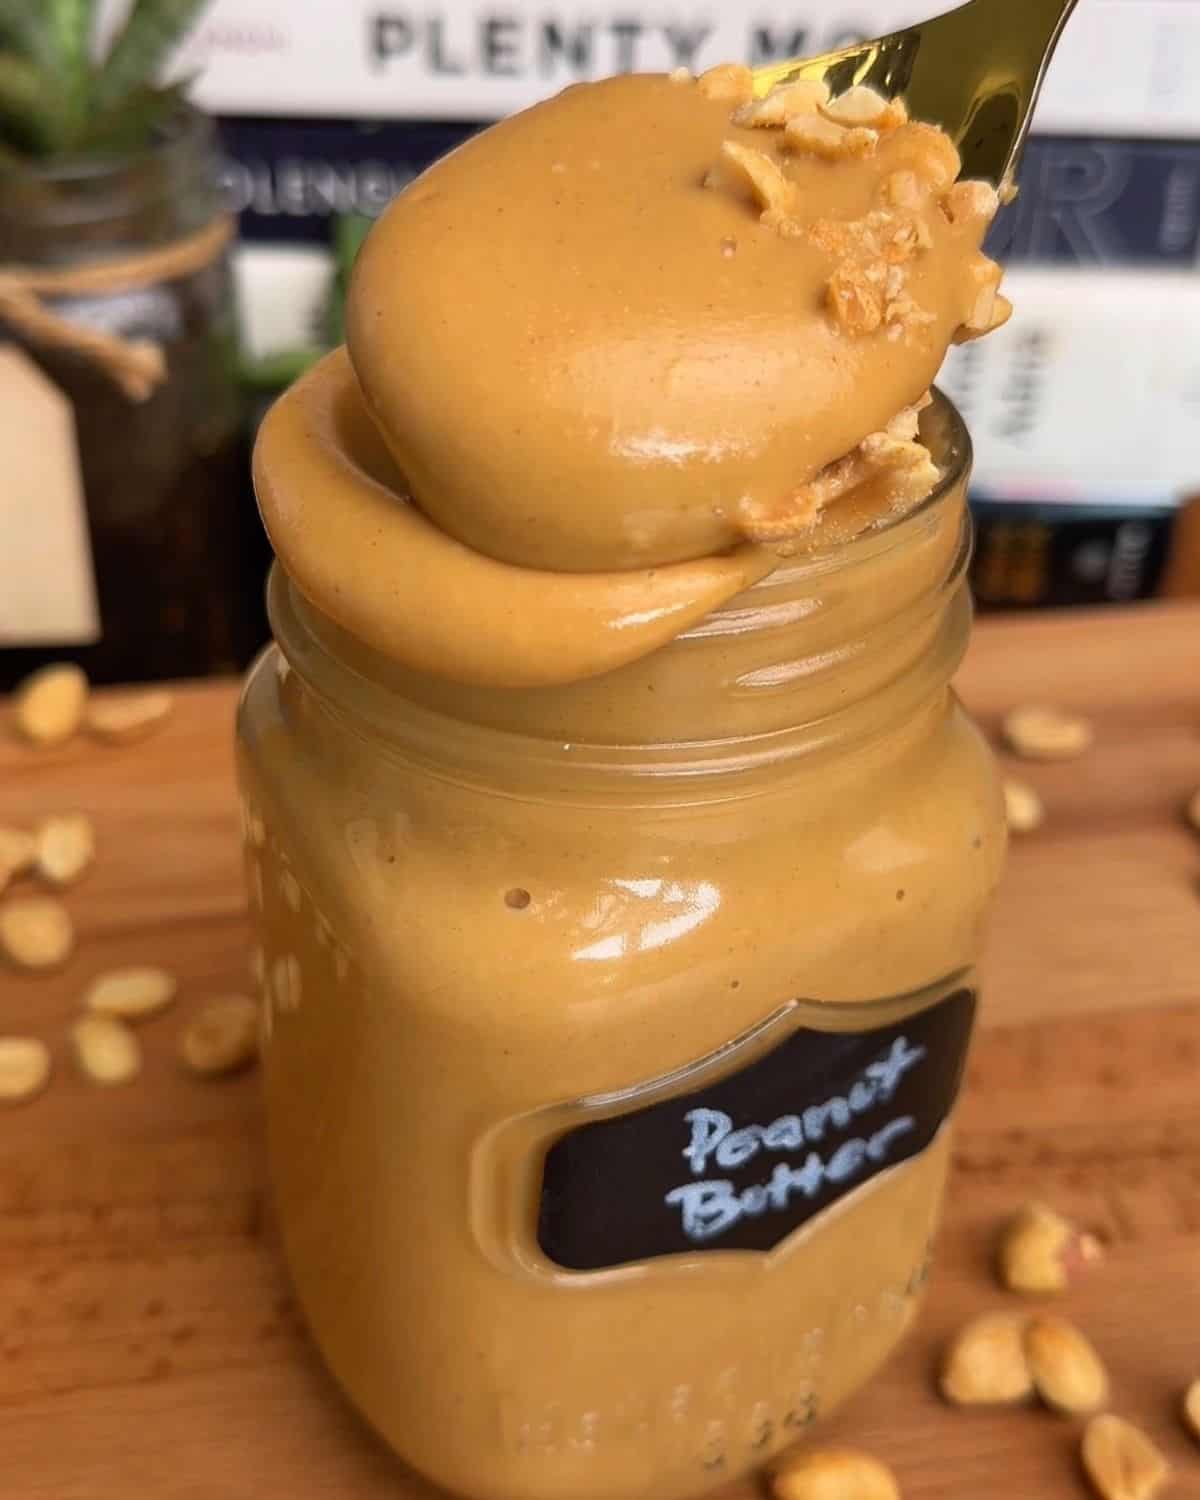
This homemade peanut butter is made with one ingredient: roasted peanuts. No added oil, no stabilizers, no preservatives. Blend until the natural oils release and the peanuts transform into something considerably better than anything you'd find in a jar at the grocery store. Salt and a touch of honey or maple syrup are optional but worth it.
At a glance: this homemade peanut butter uses 16 oz of roasted peanuts and takes about 5 to 8 minutes of blending. Makes approximately 2 cups. Optional add-ins: flaky salt, honey or maple syrup. Stores in the fridge for up to 3 weeks.
Jump to:
The Thing You Make Once and Never Look Back From
I use nut butters constantly. They go into my cookies, my cakes, my cheesecakes, my muffins. If there's a recipe on this site with richness and depth that you can't quite place, there's a good chance nut butter is involved somewhere. It's one of those ingredients I reach for almost instinctively when I want to add fat, flavor, and body without overthinking it.
Making it at home was a natural extension of that. Similar to my Homemade Pistachio Butter, the principle is the same: one ingredient, a blender, a few minutes of patience, and the result is fresher, richer, and considerably more satisfying than anything from a jar. The store-bought versions have their place, but once you've made your own peanut butter, the comparison is hard to ignore. The flavor is deeper, the texture is silkier, and you know exactly what's in it.
I'll warn you though. This is one of those recipes where you make it once and you just don't go back. The grocery store aisle never quite looks the same afterward.
The peanut butter is good on its own, but it's also built to go into other things, ranging from dinner to dessert. I use it in my High-Protein Peanut Butter Praline Ice Cream where it gets swirled into a blended cottage cheese base. And my Spicy Sesame Chili Noodles use nut butter as the sauce base in a way that makes this homemade version genuinely worth having in the fridge at all times.

WHY HOMEMADE PEANUT BUTTER WORKS
The Natural Oils in Peanuts Do All the Work
This is the part that surprises people the first time they make it. You don't need to add oil to make smooth peanut butter. Peanuts are approximately 50% fat by weight, and all of that fat is locked inside the cell walls of each nut. When you blend peanuts at high speed, the friction and heat from the blades break down those cell walls and release the oils into the paste. The mixture goes through several stages: coarse gravel, then wet sand, then a thick paste that seems stuck, and then suddenly it loosens completely into smooth, pourable peanut butter. The transformation happens quickly once it starts. You just have to get through the stuck stage first.
Warm Peanuts Blend Faster and Smoother
The natural oils in peanuts flow more freely when warm. Cold or room-temperature peanuts take longer to break down and can strain the blender motor during the stuck phase. Warming roasted peanuts in a 350°F oven for 3 to 5 minutes before blending raises the oil temperature enough that they release more quickly and blend into a smoother consistency with less effort. If you're starting from raw peanuts, the 8 to 10 minute roast does both jobs: develops the flavor and warms the oils simultaneously.
A High-Powered Blender Makes This Significantly Easier
A standard blender will make homemade peanut butter, but the process is longer and requires more stopping and scraping. A high-powered blender like a Vitamix handles the stuck phase more confidently and gets to smooth peanut butter faster. The tamper tool that comes with most high-powered blenders is particularly useful here: it lets you push the peanuts back toward the blades during the stuck phase without stopping the motor. If you're using a standard blender, patience and frequent scraping are your main tools.
Salt and Sweetener Go In at the End
Adding salt or sweetener before blending means they get distributed unevenly through the paste during the transformation phase. Adding them after the peanut butter is smooth and loose means you can blend briefly to incorporate evenly and taste before sealing the jar. Start with a small amount of each, taste, and adjust. The sweetness of the peanuts themselves varies depending on roast level, so the right amount of honey or maple syrup is always a matter of personal preference.
"This is SO easy and it's true: it's way better than store bought. I fear this is the only peanut butter I'll eat now."
Mary (email subscriber)

Recipe

Homemade Peanut Butter (1 Ingredient)
Watch:
Ingredients
Equipment
Method
- Warm the Peanuts: If using roasted peanuts, spread on a baking sheet and warm in a 350°F oven for 3 to 5 minutes until heated through. If using raw peanuts, roast at 350°F for 8 to 10 minutes until lightly golden and fragrant. Warm peanuts blend faster and produce smoother peanut butter.

- Blend: Transfer the warm peanuts to a high-powered blender. Blend on high. The peanuts will first become coarsely chopped, then resemble wet sand or gravel. At this stage the mixture may stop circulating.
- Push Through the Stuck Phase: Stop the blender and use a wooden spoon or tamper to push the peanuts back toward the blades. Continue blending, repeating as needed. After a few minutes the mixture will suddenly release its oils and transform into smooth, creamy peanut butter.

- Season: Add salt and maple syrup or honey if using. Blend briefly until fully incorporated. Taste and adjust.
- Store: Transfer to a clean glass jar and let cool completely before sealing. Refrigerate for up to 3 weeks. Stir before using if the oil separates on top.

Notes
- Warm the peanuts before blending. This is the most important step. Warm peanuts release their oils faster and blend into smoother peanut butter with less effort.
- The mixture will look stuck and grainy before it suddenly transforms. This is normal. Do not add oil. Keep blending.
- For crunchy peanut butter, stir in a small handful of roughly chopped peanuts after blending.
- Homemade peanut butter thickens as it cools. It will be more pourable fresh from the blender than after refrigeration.
- Store in the fridge for up to 3 weeks. Stir if oil separates on top.
Nutrition
Tried this recipe?
Let me know how it was!Chef Tips
On the Stuck Phase
Every first-time peanut butter maker panics during this stage. The mixture looks dry, grainy, and completely stuck, like it will never become peanut butter. This is exactly where you need to keep going. The stuck phase is when the cell walls of the peanuts are breaking down but haven't fully released the oils yet. Use the tamper to push everything back toward the blades, or stop and scrape the sides down with a wooden spoon, then continue. It can feel like it's not working for a full minute or two. Then it suddenly releases and becomes smooth and pourable almost instantly. Trust the process. I've made this enough times to know the transformation always comes.
On the Blender vs Food Processor
A high-powered blender gives you the smoothest result and handles the stuck phase most confidently. A food processor works and is actually a great option if you don't have a Vitamix or similar. The process takes slightly longer in a food processor and requires more scraping, but the result is genuinely good. A standard blender can work but may struggle during the stuck phase and can overheat on some models. If your standard blender starts to strain or smell hot, stop and let it rest for a few minutes before continuing.
On What to Do With It
Peanut butter this fresh is genuinely good eaten straight from the jar with a spoon, which I do more than I'll admit. But the real value is having it available as an ingredient. I use it in my High-Protein Peanut Butter Praline Ice Cream as a swirl component. It goes into the spicy sesame sauce for my Spicy Sesame Chili Noodles for richness and body. A spoonful stirred into oatmeal, smoothies, or used as a dipping sauce for apple slices makes every one of those things noticeably better. Once you have a jar of fresh homemade peanut butter in the fridge, you'll find uses for it constantly.
On the Crunchy Version
Blend to smooth peanut butter first, then stir in a small handful of roughly chopped peanuts after transferring to the jar. Don't add the chunky pieces during blending since they'll just get blended smooth too. The contrast between the smooth base and the crunchy pieces is the whole point of crunchy peanut butter, and it only works if the chunks go in after the blending is done.
Common questions about the Homemade Peanut Butter
General
Add 16 oz of warm roasted peanuts to a high-powered blender and blend on high until the natural oils release and the mixture transforms into smooth, creamy peanut butter. The process takes about 5 to 8 minutes and goes through a stuck, grainy phase before suddenly becoming smooth. No oil needs to be added. Salt and sweetener are optional and go in after the peanut butter is smooth. Transfer to a jar, cool completely, and refrigerate for up to 3 weeks.
Freshness and simplicity. Store-bought peanut butter often contains stabilizers, palm oil, and added sugar that change both the flavor and texture. Homemade peanut butter is just peanuts, with nothing masking or altering the natural roasted flavor. The oils are fresher and the taste is more distinctly peanut. Once you've made it at home, the comparison to a store-bought jar is immediately noticeable.
This is the stuck phase and it is completely normal. The peanut cell walls are breaking down but haven't fully released their oils yet. Use a tamper to push the mixture back toward the blades, or stop and scrape the sides down, then continue blending. The transition from stuck and grainy to smooth and pourable usually happens within a minute or two of getting through this phase. Every batch goes through it. Keep going.
Variations & Uses
Yes. Spread raw peanuts on a baking sheet and roast at 350°F for 8 to 10 minutes until lightly golden and fragrant. Let them cool slightly before blending. The roasting step develops the flavor that makes peanut butter taste like peanut butter. Blending raw unroasted peanuts produces a lighter, less complex result that doesn't have the same depth.
Almost anything. It's a direct substitute for store-bought peanut butter in any recipe. It's particularly good in sauces and dressings where the fresh flavor comes through clearly, like the sauce base for spicy sesame noodles. It works in baked goods including cookies, muffins, and cakes. It's excellent as a swirl component in ice cream and frozen desserts. And it's genuinely good eaten straight from the jar, which is the most honest answer.
No. Peanuts contain enough natural oil to produce smooth, pourable peanut butter without any added oil. The key is warming the peanuts first to help the oils release more easily, and blending long enough to get through the stuck phase where the mixture looks dry and grainy. Adding oil before the natural oils have released will actually make the process harder since the extra liquid can cause the mixture to seize rather than smooth out.
Note: Some links on this page may be affiliate links. If you buy something through them, I earn a small commission at no extra cost to you. I only ever link to stuff I actually use and love.
More recipes I think you'll love
Into this one? I have lots more where it came from. Try a few of these next.
- Homemade Pistachio Butter (2 Ingredients!)10 Minutes
- High-Protein Peanut Butter Praline Ice Cream (No Churn)6 Hours 10 Minutes
- Spicy Sesame Noodles with Chili Oil10 Minutes
- 6-Ingredient Banana Chocolate Chunk Cookies17 Minutes


Does this work to make almond butter? My son's kindergarten class is peanut free... Thanks!
Hi Emily! Yes, this works great with almonds too! If they're not already roasted, roast raw almonds at 350°F for 8-10 minutes first, then blend just like the peanuts — it'll go through a grainy "wet sand" stage before turning smooth and creamy, usually 5-8 minutes total. No oil needed, and starting with warm nuts helps it along. Perfect for a peanut-free classroom!
Simple ingredients, simple steps, and somehow it tasted like way more effort than it actually was. Will not be buying a jar again, just like you said!!